
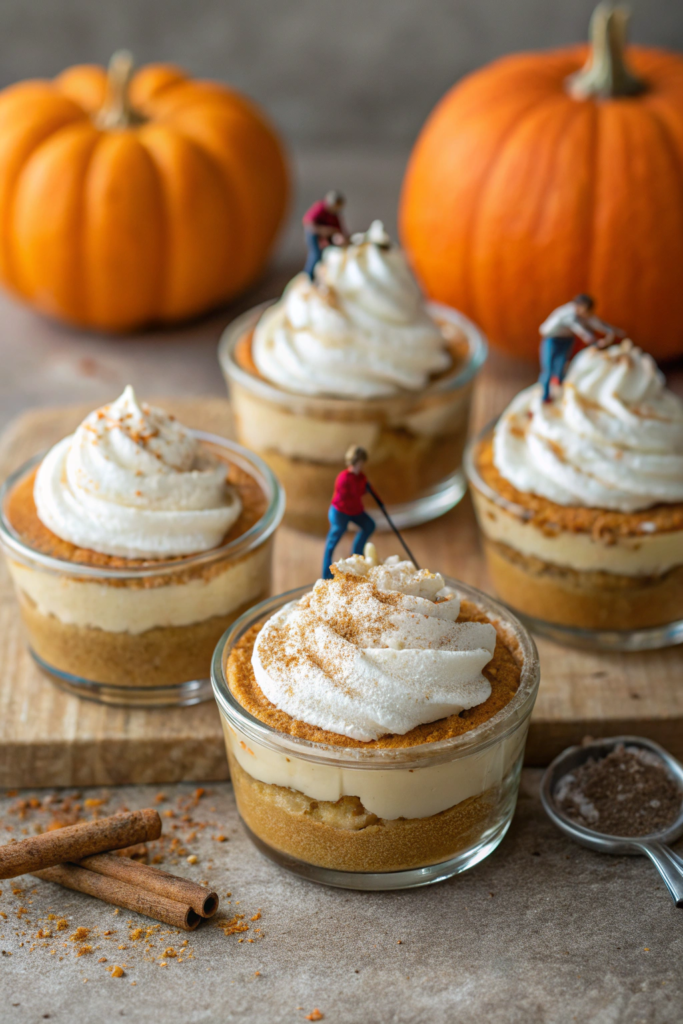
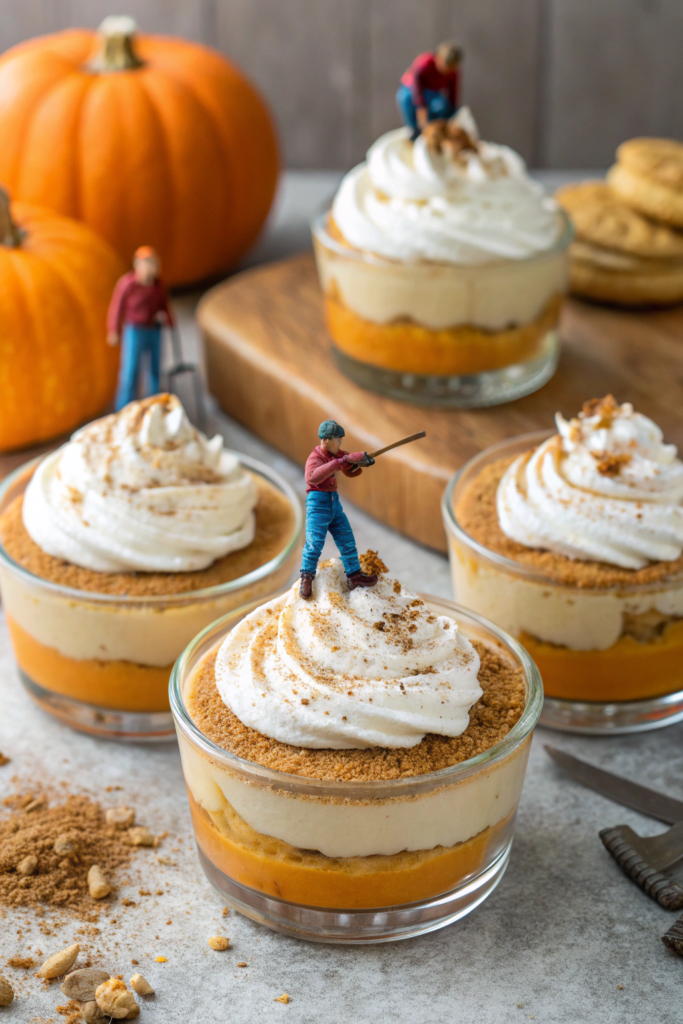
Mini Pumpkin Dessert: Tiny Treats for Big Fall Flavor 🍂🎃
(Narrated by four friends: Jake, the Leader; Max, the Funny One; Sam, the Perfectionist; and Nate, the Lazy Genius.)
Jake: “Alright, guys, today we’re making Mini Pumpkin Desserts. These little treats are creamy, spiced, and perfect for fall. Follow my lead, and we’ll have these done in no time.”
Max: “Done in no time? Jake, you’ve seen us cook, right? Disaster in no time sounds more accurate.”
Sam: “If we stick to the steps, this will be flawless. Pumpkin perfection is the goal.”
Nate: “Or we can just skip to the eating part. Efficiency is key, my friends.”
Scaled-Down Ingredients (Makes 4 Mini Servings):
For the Crust:
- 1/4 cup graham cracker crumbs
- 1 tbsp unsalted butter, melted
For the Pumpkin Filling:
- 1/4 cup canned pumpkin puree
- 2 tbsp cream cheese, softened
- 2 tbsp powdered sugar
- 1/8 tsp ground cinnamon
- A pinch of nutmeg
- 1/8 tsp vanilla extract
For the Whipped Cream Topping:
- 2 tbsp heavy whipping cream
- 1/2 tbsp powdered sugar
- A drop of vanilla extract
Optional Garnish:
- A sprinkle of cinnamon or a dollop of caramel sauce
Step-by-Step Instructions:
Step 1: Prep the Tools
Jake: “First, grab four small ramekins or dessert cups. This is a no-bake recipe, so no oven required!”
Max: “No oven? Finally, a recipe even I can’t burn.”
Sam: “Line up your ramekins and get your mini tools ready. Precision matters.”
Step 2: Make the Crust
Jake: “Mix the graham cracker crumbs and melted butter in a small bowl until it looks like wet sand.”
Max: “Wet sand? Sounds appetizing. Are we making dessert or building a sandcastle?”
Sam: “Press the mixture into the bottom of each ramekin. Chill for 10 minutes to set the crust.”
Step 3: Make the Pumpkin Filling
Jake: “In another bowl, beat the pumpkin puree, cream cheese, powdered sugar, cinnamon, nutmeg, and vanilla until smooth and creamy.”
Nate: “Or just mix it all and hope for the best. It’s going to taste good either way.”
Sam: “Smooth consistency is non-negotiable. Take your time here.”
Step 4: Assemble the Dessert
Jake: “Spoon the pumpkin filling over the chilled crust, dividing it evenly among the ramekins. Smooth the tops with a spoon or spatula.”
Max: “Or go for the ‘rustic look’—less smoothing, more eating.”
Sam: “Let them chill in the fridge for at least 30 minutes to set properly.”
Step 5: Whip the Cream
Jake: “Whip the heavy cream, powdered sugar, and vanilla until soft peaks form. This will be the crowning glory.”
Nate: “Or just use canned whipped cream. Work smarter, not harder.”
Sam: “Homemade whipped cream is worth the effort. Trust me.”
Step 6: Garnish and Serve
Jake: “Top each mini dessert with a dollop of whipped cream and a sprinkle of cinnamon or drizzle of caramel.”
Max: “Or both. Live dangerously.”
Tips for Mini Pumpkin Dessert Success:
- Jake: “Use chilled tools and bowls for the whipped cream—it whips faster and stays fluffier.”
- Sam: “Drain excess liquid from the pumpkin puree for a firmer filling.”
- Nate: “Double the crust if you like it thick. Everyone loves extra crust.”
Jake: “And there you have it—Mini Pumpkin Desserts that are small in size but big on flavor.”
Max: “Pin this recipe, share it, and let’s get pumpkin-spiced together!”
Nate: “Or just eat them all before anyone notices you made them.”
#MiniPumpkinDesserts #FallBaking #TinyTreatsBigFlavor